Pages

Tuesday, December 7, 2010

What do you get when you mix a Cow and Chocolate?

A really damn good dinner!

Beef and chocolate are two of my favorite things, but I must admit I was a bit taken aback at the idea of a sauce for beef tenderloin that included cocoa powder.  It certainly didn't stop me from trying it though!

It all started with a hunk o' beef.  In this case, a portion of beef tenderloin.  I buy a whole tenderloin and cut it down into useable sizes for the weeone and I, so I get 3-4 meals from one tenderloin.  So it got a bath of salt and pepper followed by a searing good time on top of the stove making sure that all its surfaces were browned and the juices seared inside.  The beef then hit the oven for half an hour at 425 degrees.


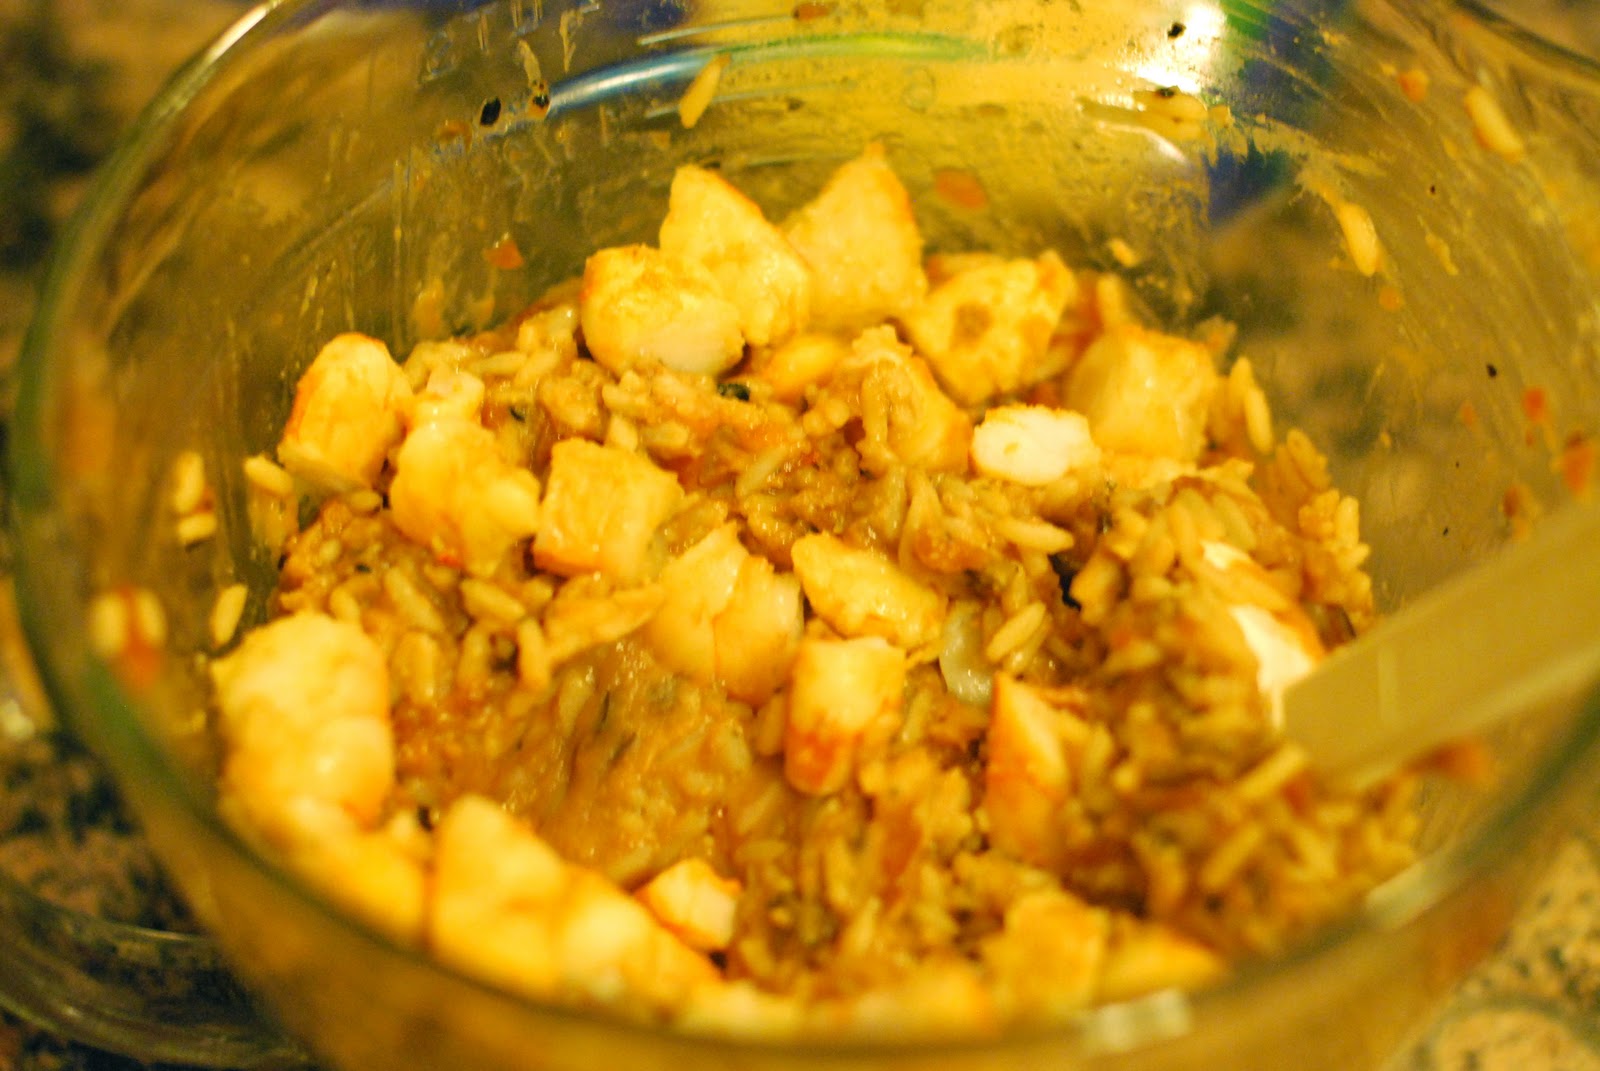
While the meat cooked, I started the sauce.  In the future, I'll start the sauce first because even though the recipe say it takes 30 minutes for the sauce, I found it had to cook a lot longer to reduce to the consistancy it should.  Anyway, I used my food processor to chop celery, carrots and shallots.  I put them over heat in a large saucepan and let them cook for about 5 minutes.


Next up, my favorite ingredient - garlic.  The garlic joined the party for just a minute or two before I added the wine, beef stock, tomato paste, bay leaf and thyme.


Those were brought to a boil and then I reduced the heat to let the sauce simmer for about 40 minutes or until the liquid was reduced to about 1/2 cup.


Once it was reduced, the sauce was run through a fine mesh strainer and mixed with cocoa powder and chopped rosemary, completing the sauce.


It was smooth and silky and rich and mind boggling really.  I think I am in love with this sauce, despite the time it took to make.  So, I wouldn't call this a weekday or everyday sort of meal, but man-oh-man - make it.  You'll love it.  So will any boy....I promise. ;D


Roasted Beef Tenderloin with Rosemary, Chocolate and Wine Sauce

2007 Ellie Krieger


Ingredients

  • 1 (2-pound) beef tenderloin roast
  • 1/4 teaspoon salt
  • 1/4 teaspoon freshly ground black pepper
  • 4 teaspoons olive oil
  • 1/2 cup chopped shallots
  • 1 small carrot, finely chopped
  • 1 stalk celery, finely chopped (about 1/4 cup)
  • clove garlic, minced (about 1 teaspoon)
  • 2 cups dry red wine
  • 2 cups low-sodium beef broth
  • 2 tablespoons tomato paste
  • bay leaf
  • 1 sprig fresh thyme
  • 1 tablespoon unsweetened natural cocoa powder
  • 1 teaspoon chopped fresh rosemary leaves

Directions

Preheat the oven to 425 degrees F.
Season the meat with the salt and pepper. In a large skillet, heat 2 teaspoons of the oil over medium-high heat until good and hot, then add the meat and sear until well browned on all sides, about 10 minutes total.
Transfer the meat to a rack set on a baking sheet. Roast until an instant-read thermometer inserted in the thickest part registers 140 degrees F for medium-rare, about 30 minutes, or to your desired degree of doneness. Remove it from the oven, cover with aluminum foil, and let rest until the sauce is nearly done before slicing.
While the meat cooks, make the sauce. Heat the remaining 2 teaspoons of oil in a large saucepan over medium-high heat. Add the shallots, carrot and celery and cook, stirring a few times, until softened, about 5 minutes. Add the garlic and cook for 2 minutes more. Add the wine and broth and stir in the tomato paste. Add the bay leaf and thyme and bring to a boilSimmer until the liquid is reduced to about 1/2 cup, about 40 minutes. Strain through a fine mesh strainer into a small saucepan. Stir in the cocoa androsemary and season with salt and pepper. Serve on the side with the sliced tenderloin.
Serving size 3 slices of meat and about 1 1/2 tablespoons of sauce, makes 6 servings
Per Serving: Calories 280; Total Fat 9g (Sat Fat 3g, Mono Fat 4g, Poly Fat 0g); Protein 31g; Carb 7g; Fiber 1g; Cholesterol 82mg; Sodium 375mg

Monday, December 6, 2010

Pizza - it's more than a phone call...

I know, I know - the beauty of pizza is the fact that you dial a number on a crazy, hectic, busy day and some cutie little high school kid arrives thirty minutes later with a hot pie for ya'.  I get it, and I promise, we do that plenty!

But sometimes I want my own pizza, a pizza that I have made from start to finish.  So this past weekend I had the weeone and the teacups (two friends) all day on Saturday.  We decided the best way to end the day was homemade pizzas!  Sort of a "build your own pizza night".  Everyone gets what they want - a rare occurance in this house.

I decided that afternoon to go ahead and make a double batch of Whole Wheat Pizza dough.  It's a recipe that I think originated with Eating Well Magazine, but was then tweaked by Joe at Culinary in the Desert.  It's my go-to pizza crust now.  It's somewhat healthy (or at least that's what I tell myself) so then I don't feel so badly about all the cheese I'm about to put on top of it!

You start off with a cup each of Whole Wheat Flour and All-Purpose Flour.  Now, I'm a King Arthur Flour lover.  I don't know why...well, yes I do - because my friends who love to bake swear by it.  You can get it in most major grocery stores, but you can also order it online.  In with the flour go salt, yeast and a smidgen of sugar.


Then you turn on the food processor and add 3/4 cup warm water and a tablespoon of olive oil slowly while the processor forms the dough into a nice ball.  Once it's in a ball, continue to run the food processor for about a minute to knead the dough for you.  (I'm lazy - why should I knead? ;D )


Once you have a good soft dough, you put it in a bowl covered in cooking spray, cover it with a damp towel and set it aside to rise.  It'll double in size and you'll get that great moment when you get to punch the dough and knock it back down to size.  You can relieve and stress from that day.


Your dough's now ready to be used for pizza, stromboli, cheesy bread, or whatever strikes your fancy!

We formed individual pizzas for the kiddos, one giant one for me and Laxplays and I let them top 'em till their hearts were content!


Wanna see the final products???


This one's topped with Roasted Veggies!  Yummy!

So the next time you're about to call Domino's or Pizza Hut or Double Dave's....remember there's another way to do pizza night!  The kids will love, love, love it!

*** The recipe for the dough doesn't provide baking instructions, but I usually stick the crust alone in at 350 for about 7 minutes, pull it out, top it and then bake until everything's melted and bubbly!


Whole Wheat Pizza Dough 
(Adapted from Eating Well)
And Stolen from Joe's Blog

1 cup whole wheat flour
1 cup all purpose flour
2 1/4 teaspoons instant yeast
1 teaspoon salt
1/2 teaspoon sugar
3/4 cup warm water
1 tablespoon olive oil

Combine flours, yeast, salt, and sugar in a food processor; pulse to mix. Combine warm water and oil in a measuring cup. With the motor running, gradually pour in enough of the liquid until the mixture forms a sticky ball. The dough should be quite soft. If it seems dry, add 1 to 2 tablespoons of warm water; if too sticky, add 1 to 2 tablespoons flour. Process until the dough forms a ball, then process for 1 minute to knead.

Lightly coat a large bowl with cooking spray. Place dough inside, turning to coat. Cover with plastic wrap or a damp towel and let rise about an hour, or until doubled in size. Punch down and let the dough rest for about 10 minutes before rolling.

*If you want to knead by hand feel free - knead for about 10 minutes. As made, this recipe makes about 1 pound of dough.

If you would like to make about 12 ounces of dough, here is the ingredient list to follow - the directions to prepare the dough is the same.

3/4 cup whole wheat flour
3/4 cup all purpose flour
2 1/4 teaspoons instant yeast
3/4 teaspoon salt
1/4 teaspoon sugar
1/2 cup warm water (may need slightly more)
2 teaspoons olive oil


Saturday, December 4, 2010

Beans, Beans, A Magical Fruit...

When you're 8 years old and you live in Texas, refried beans are like a whole food group in your diet.  The weeone has a standing order at Don Jose's (our fave little Mexican dive we've been eating at since I was 5). She gets a small chili con queso with flour tortillas followed by a side of rice and refried beans.  And yes, I realize there is no meat in that meal....beans count, right?  Even when they're laden with lard?

Anyway, when I came across the idea of mixing beans, rice and salsa and shoving them into a hollowed out poblano pepper I knew it would be a hit in our house!  Poblanos are not that spicy, they just have a hint of spice most of the time, so they're a decidedly "Mexican" spin on stuffed peppers.


I decided that adding some chopped sauteed shrimp to the mix would make it even more yummy.  So I took the peppers, sliced them in half lengthwise and put them in a baking dish.  A cookie sheet would work fine as well.


I sauteed the shrimp after dusting them with a bit of cumin.  (a few shrimp may or may not have inadvertantly fallen into my mouth during the cooking process)


Then the beans, rice, salsa and shrimp all were blended together - sort of like a modern-day family.  ;D


Into the pepper halves the filling went and into the oven the pan went!


About 15 minutes into baking, I added cheese to the tops of each pepper.  You cannot, repeat, cannot go wrong by topping anything with cheese!!!


When they came out of the oven I topped them with some chopped cilantro and....they quickly disappeared.  The weeone gave these an A+ and said it was a "definite repeater".  Ole!


Stuffed Poblano Peppers
adapted from a Cooking Light Recipe
Serves - 4

4 Poblano peppers, sliced in half and deseeded
1 can fat free refried beans
1 cup of your favorite rice (I used long grain wild rice), cooked
3/4 cup picante sauce
12 shrimp, peeled and deveined
1 Tbsp ground cumin
1 cup 2% shredded Mexican Cheese Blend
2 Tbsp chopped cilantro

1.  Preheat oven to 350 degrees.  Put empty sliced poblanos into the oven to cook for about 15 minutes.
2.  Spray a non stick pan with cooking spray and heat over medium heat.  Toss the shrimp with cumin and add to the heated pan, turning shrimp to cook fully.  (3-5 minutes)
3.  When shrimp is done cooking, cut into bite sized pieces.
4.  Combine beans, shrimp, rice and salsa in a medium bowl.  Then fill each poblano with 1/3 of a cup of filling or until all the filling has been evenly distributed among the peppers.
5.  Bake filled peppers for 15 minutes, then top with the shredded cheese and return them to the oven until they are hot and the cheese is melted, approx. 10 minutes.  When removed from the oven, top the peppers with the chopped cilantro and serve hot.

Nutritional Information - 1 serving = 2 stuffed pepper halves
Calories - 274, Total Fat - 5.8g (Sat - 3.6g, Polyunsat - 0.2g, Monounsat -0.1g), Chol - 42.4mg, Sodium - 1283mg, Potassium - 565.3mg, Total Carbs - 34.5g, Dietary Fiber - 7.5g, Sugars - 4.6 g, Protein - 18.2g


Friday, December 3, 2010

Did you just say Eggplant?

Yes, eggplant.  I am a fan.  Maybe it's because it's a purple vegetable and not green, but I love eggplant.  I don't love like I love zucchini because that's a whole separate and different level of love.  But I really do love me some eggplant.

I don't cook with eggplant a lot because *whispers* the weeone thinks she doesn't like it.  She does.  I know this because I've covered it in amazing sauces before and she ate it.  She just didn't know what she ate.  Stealth Momma....that's me.

This time, I put it all out on the table and showed her my cards.  I informed her that she was going to be having eggplant for dinner.  Her reaction?  "Okay."  Um...well, that was anti-climatic!

So I had these two pretty eggplants ( good eggplant should be firm, don't be fooled into squishy ones!)


I sliced the eggplants into 1/2 inch slices, salted them and let them drain for about thirty minutes.  Eggplant are a watery bunch and if you're gonna fry 'em, and we are, then you've gotta drain 'em.  Two reasons - #1 watery things make hot oil jump out of the pan and do damage to your face and #2 watery things get soggy when breaded and fried.


Once they were good and drained, they went into bathe in egg and breadcrumbs.  Now, I did not flour before the egg wash and crumbs because I thought I'd save a few calories along the way - I didn't miss it in the final product.


After I got them all well dredged and coated, it was time to spend some time in the cast iron skillet!  I heated up some vegetable oil - not tons, just enough to thoroughly coat for pan-frying and started making the eggplant crispy on the outside and soft on the inside.


The last step of eggplant parmesan is the layering and baking!!!  In a baking dish I layered marinara, eggplant, sliced mozzarella, grated parmesan, marinara, eggplant, sliced mozzarella and more grated parmesan.  Yum.  A slice of mozzarella may or may not have been ingested along the way.  Don't judge.  ;D


Into the oven this went until it was all hot, melted and bubbly with a slight browned top.


Eggplant Parmesan Success!!!  It's not neat and pretty, but my belly (and the weeone) said it's good.  Now, go try it!